Our new Hydrovane is now installed and (thus far) works great!
 |
| Our Hydrovane "Fin" installed on Pelagia |
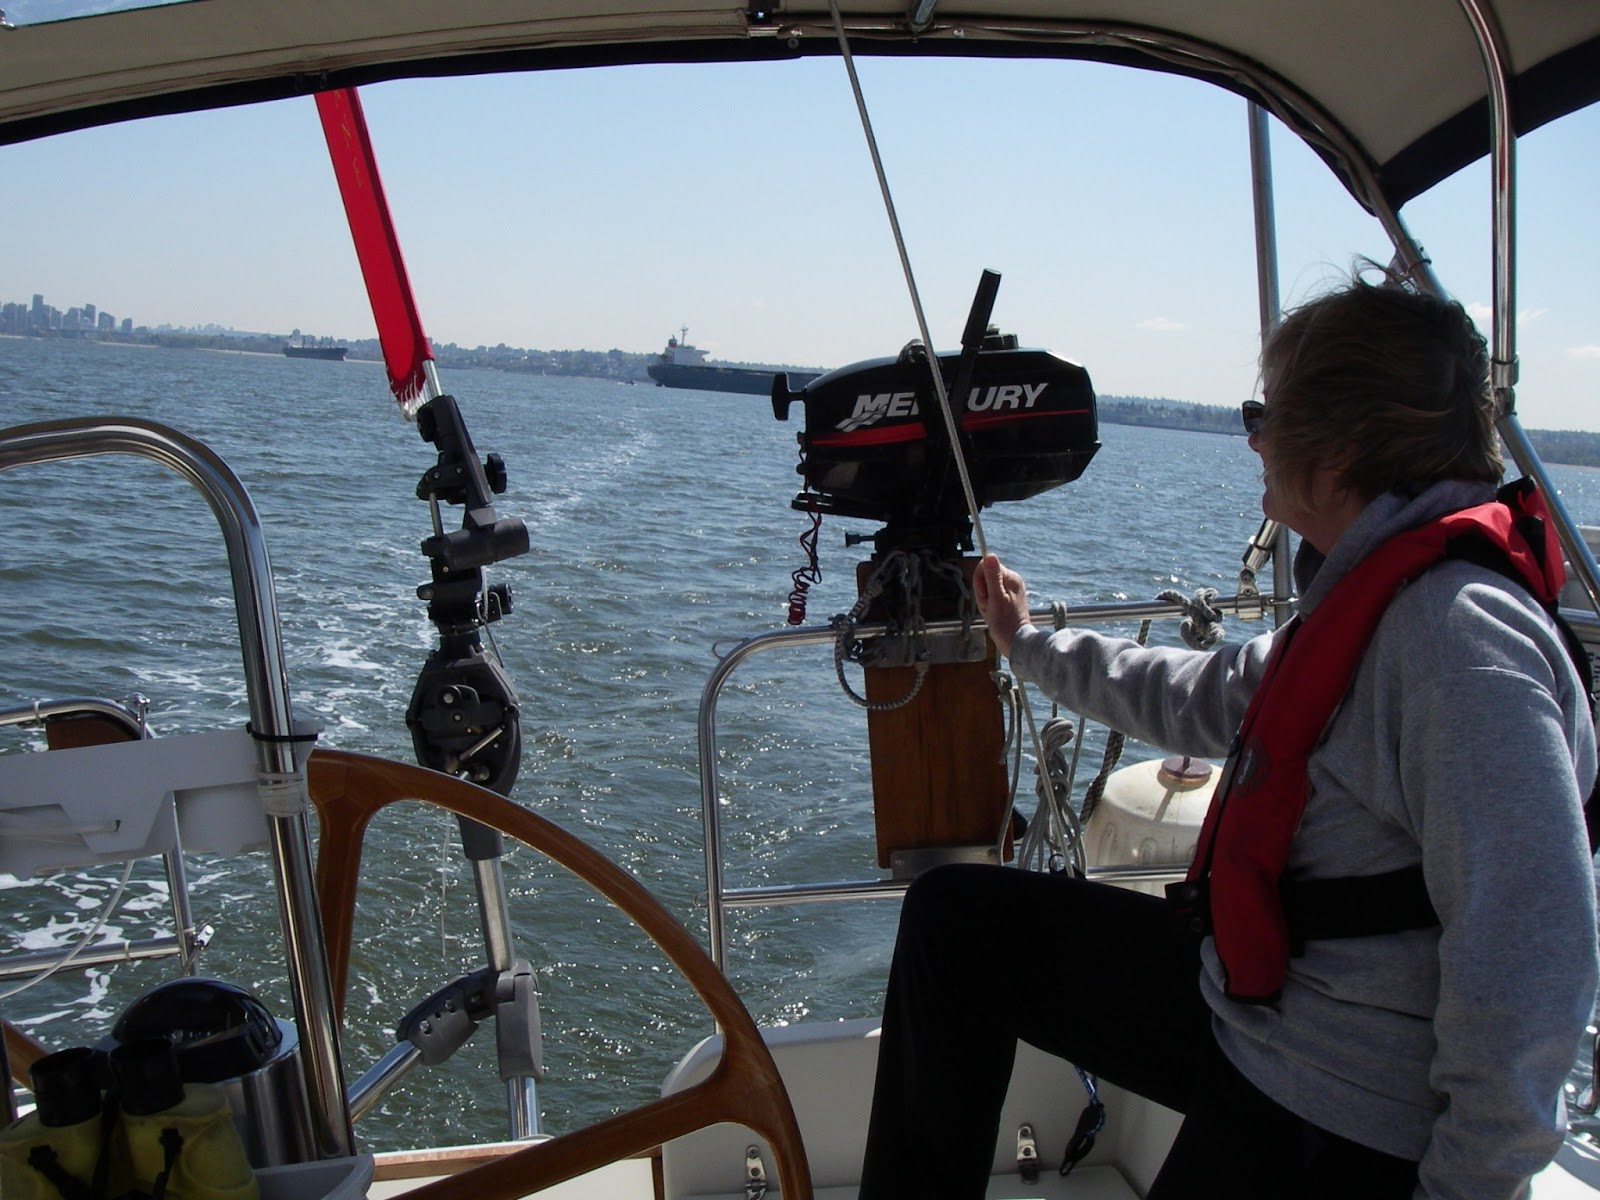 |
| First try -- "Fin" worked great immediately (sailing in English Bay) |
We purchased our Hydrovane just over a year ago. Will Curry (who is currently sailing their Beneteau Hydroquest in French Polynesia) from Hydrovane came down to Pelagia to check measures and suggest placement. Will recommended mounting the Hydrovane with an "H" bracket on the stern grid (after "beefing up" the stern grid) and an "A" bracket on Pelagia's transom. Will's in-person check really helped (of course, it helps that "Hydrovane International" office is located in nearby West Vancouver)!
Last Spring (2012), we contacted an installer recommended by Will -- unfortunately, that person turned out to be completely unreliable and strung us along and finally never showed up. (Yes, we noted our negative experience to the Hydrovane folks.) Lucky we had, by then, postponed our departure by 1 year.
It turns out that our rigger, Paul at Ocean Rigging is also an installer recommended by Hydrovane. One thing we know about Paul, besides his good work, is that when he agrees to a job, he does it when he says he will (weather permitting, of course).
Paul and Gus came down to Pelagia a couple weeks ago, and we began the process of mocking up the placement of the Hydrovane. (The "mockup" uses PVC pipes to determine placement of brackets and lengths required for the stainless steel pipes.) This was a rather drawn out process, and we ended up with a placement of the "A" bracket that was somewhat different than suggested by Will. (Will thought the "A" bracket would go to either side of the transom walk-thru, but this was not possible with the fixed 40-degree angle of the bracket.) We found that one arm of the "A" bracket could be placed below the walk-thru and the other arm placed starboard to the walk-thru. A benefit of this is it allows easy access to the stern grid (for swimming, dinghy access, and for putting on/taking off the Hydrovane rudder).
 |
| Gus & Paul check angles of mockup (white tubes are PVC) |
 |
| "H" bracket on stern grid (not yet reinforced); "A" bracket on transom |
 |
| Significant reinforcement of stern grid underside (all stainless steel) |
 |
| "H" bracket on top of anodized aluminum backing plate |
It took a little over a week to complete the reinforcement of the stern grid -- we did a little more "beefing" up than suggested by Will Curry. Nothing wrong with building something stronger.
Last week, we got together again, and did the final measures and installed the Hydrovane. This too required the better part of a day.
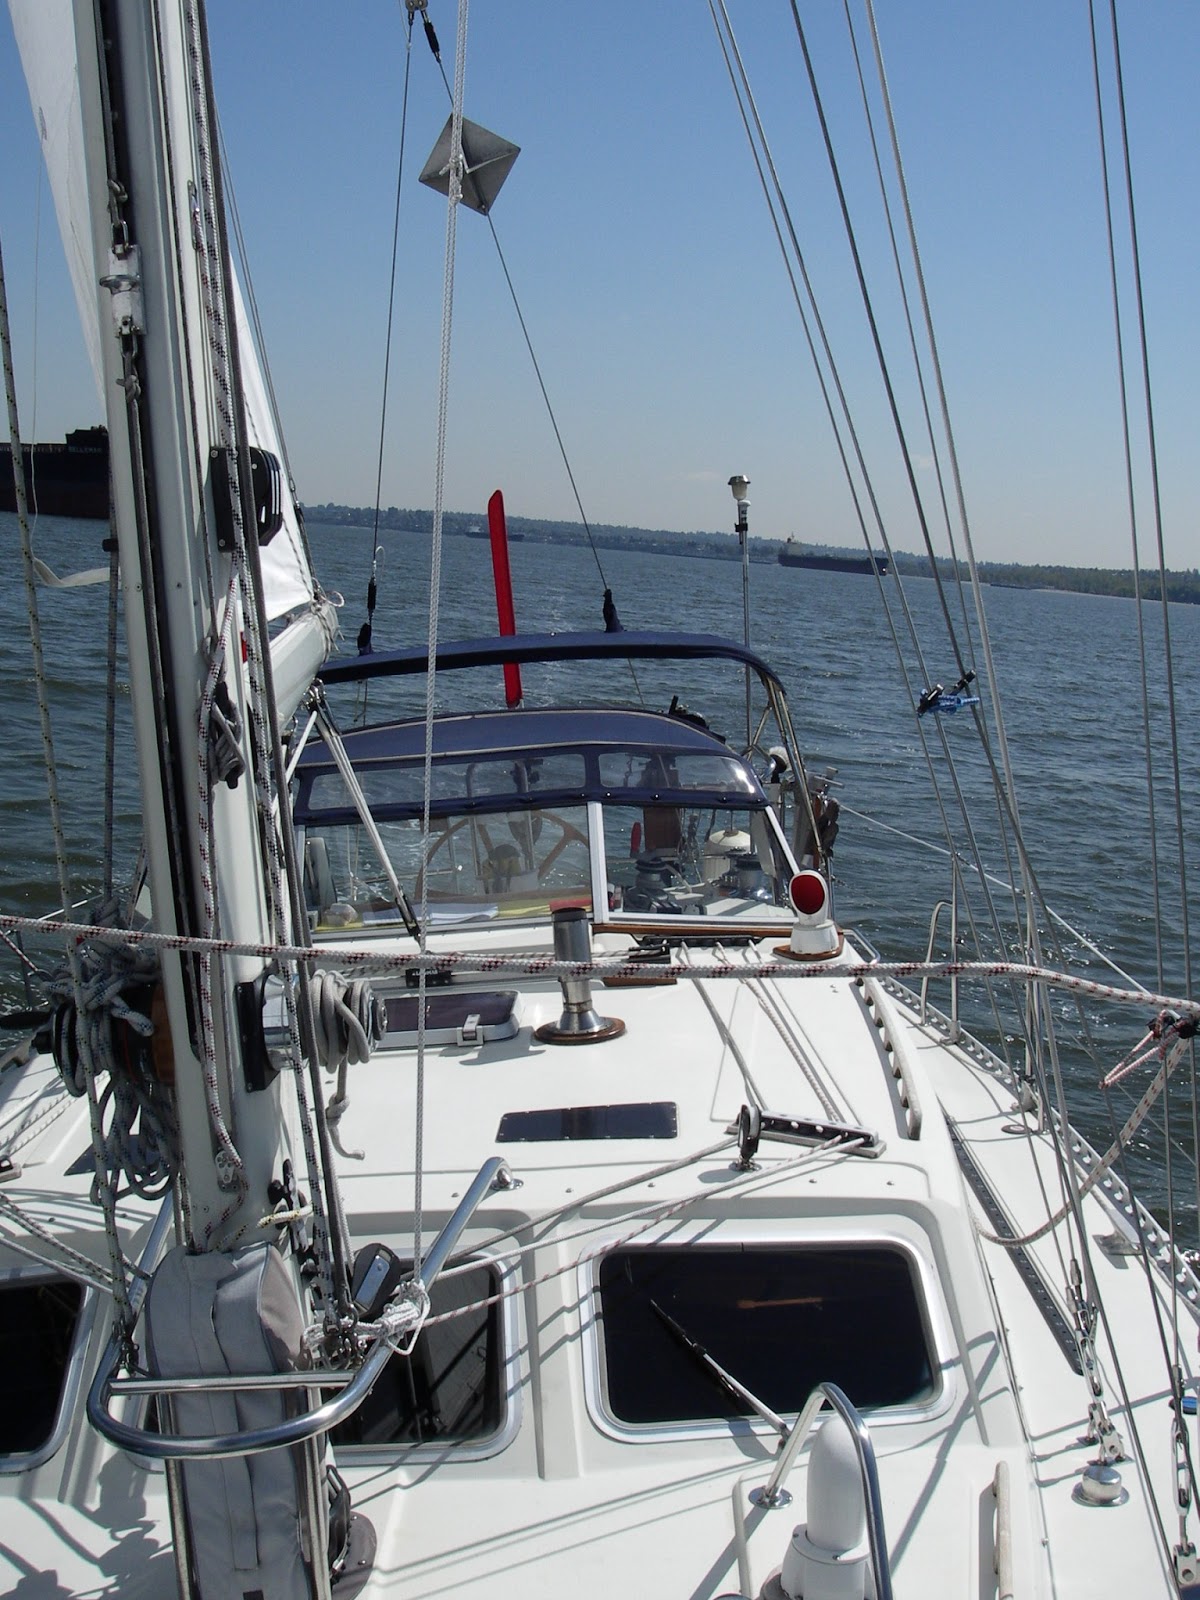
The next day, Michelle and I headed out on Pelagia for a few days sailing (in the sun!). Immediately upon entering English Bay, we hoisted our sails and tried out "Fin" the Hydrovane (well, it looks like an Orca's fin, and Vancouver fans will know "Fin"). Amazingly, we got Fin to work on our very first try! (It probably helped that we'd had previous experience with a windvane -- a Monitor -- when sailing on SV Berkana back from Hawaii in 2004.) After several tacks, we set course across Georgia Strait: Fin guided us all the way across to Porlier Pass, where we then anchored in Clam Bay. A couple days later, Fin again guided us from outside of Silva Bay all the way back across the strait to Bowen Island.
 |
| In Snug Cove (Bowen Island). Fin "resting" after steering us across the strait |
 |
| Look Ma, no hands! Fin steering us in English Bay |
It is still early, but we are pretty happy with Fin, our new crew member.
(Again, thank you to Paul and Gus of Ocean Rigging, and to Will of Hydrovane.)

